Managing Tasks
The “Tasks” tab allows you to create and collect various important notifications and to-do’s into one easily readable list to help keep you organized and on track. Certain notifications will automatically become “tasks,” such as new invoices to be paid, or you may also create custom tasks to serve as reminders for any to-do’s you’d like prioritized.
Managing Tasks via the Tasks Tab
To access the Tasks tab, Click on Tasks in the left navigation. The Tasks tab opens.
Use the below diagram for help in navigating the Tasks tab.
1. Sort Tasks by Project: Use this drop-down menu to select a project. Only the selected project’s tasks will be displayed.
2. View Task: Click the eye icon next to a task to open an expanded view of that task’s details.
3. Task Details: Task details such as description, related company and contacts, and due date are displayed here.
4. Add Task: Click this button to create a new custom task. See Creating Custom Tasks for more.
5. Sort Tasks by Completion: Use this drop-down menu to view only completed tasks, only uncompleted tasks, or all tasks.
6. Mark Task as Done: Click this button to mark a task as completed. The task can then only be found when sorting by “Completed.”
Accessing Tasks via the Project Tab
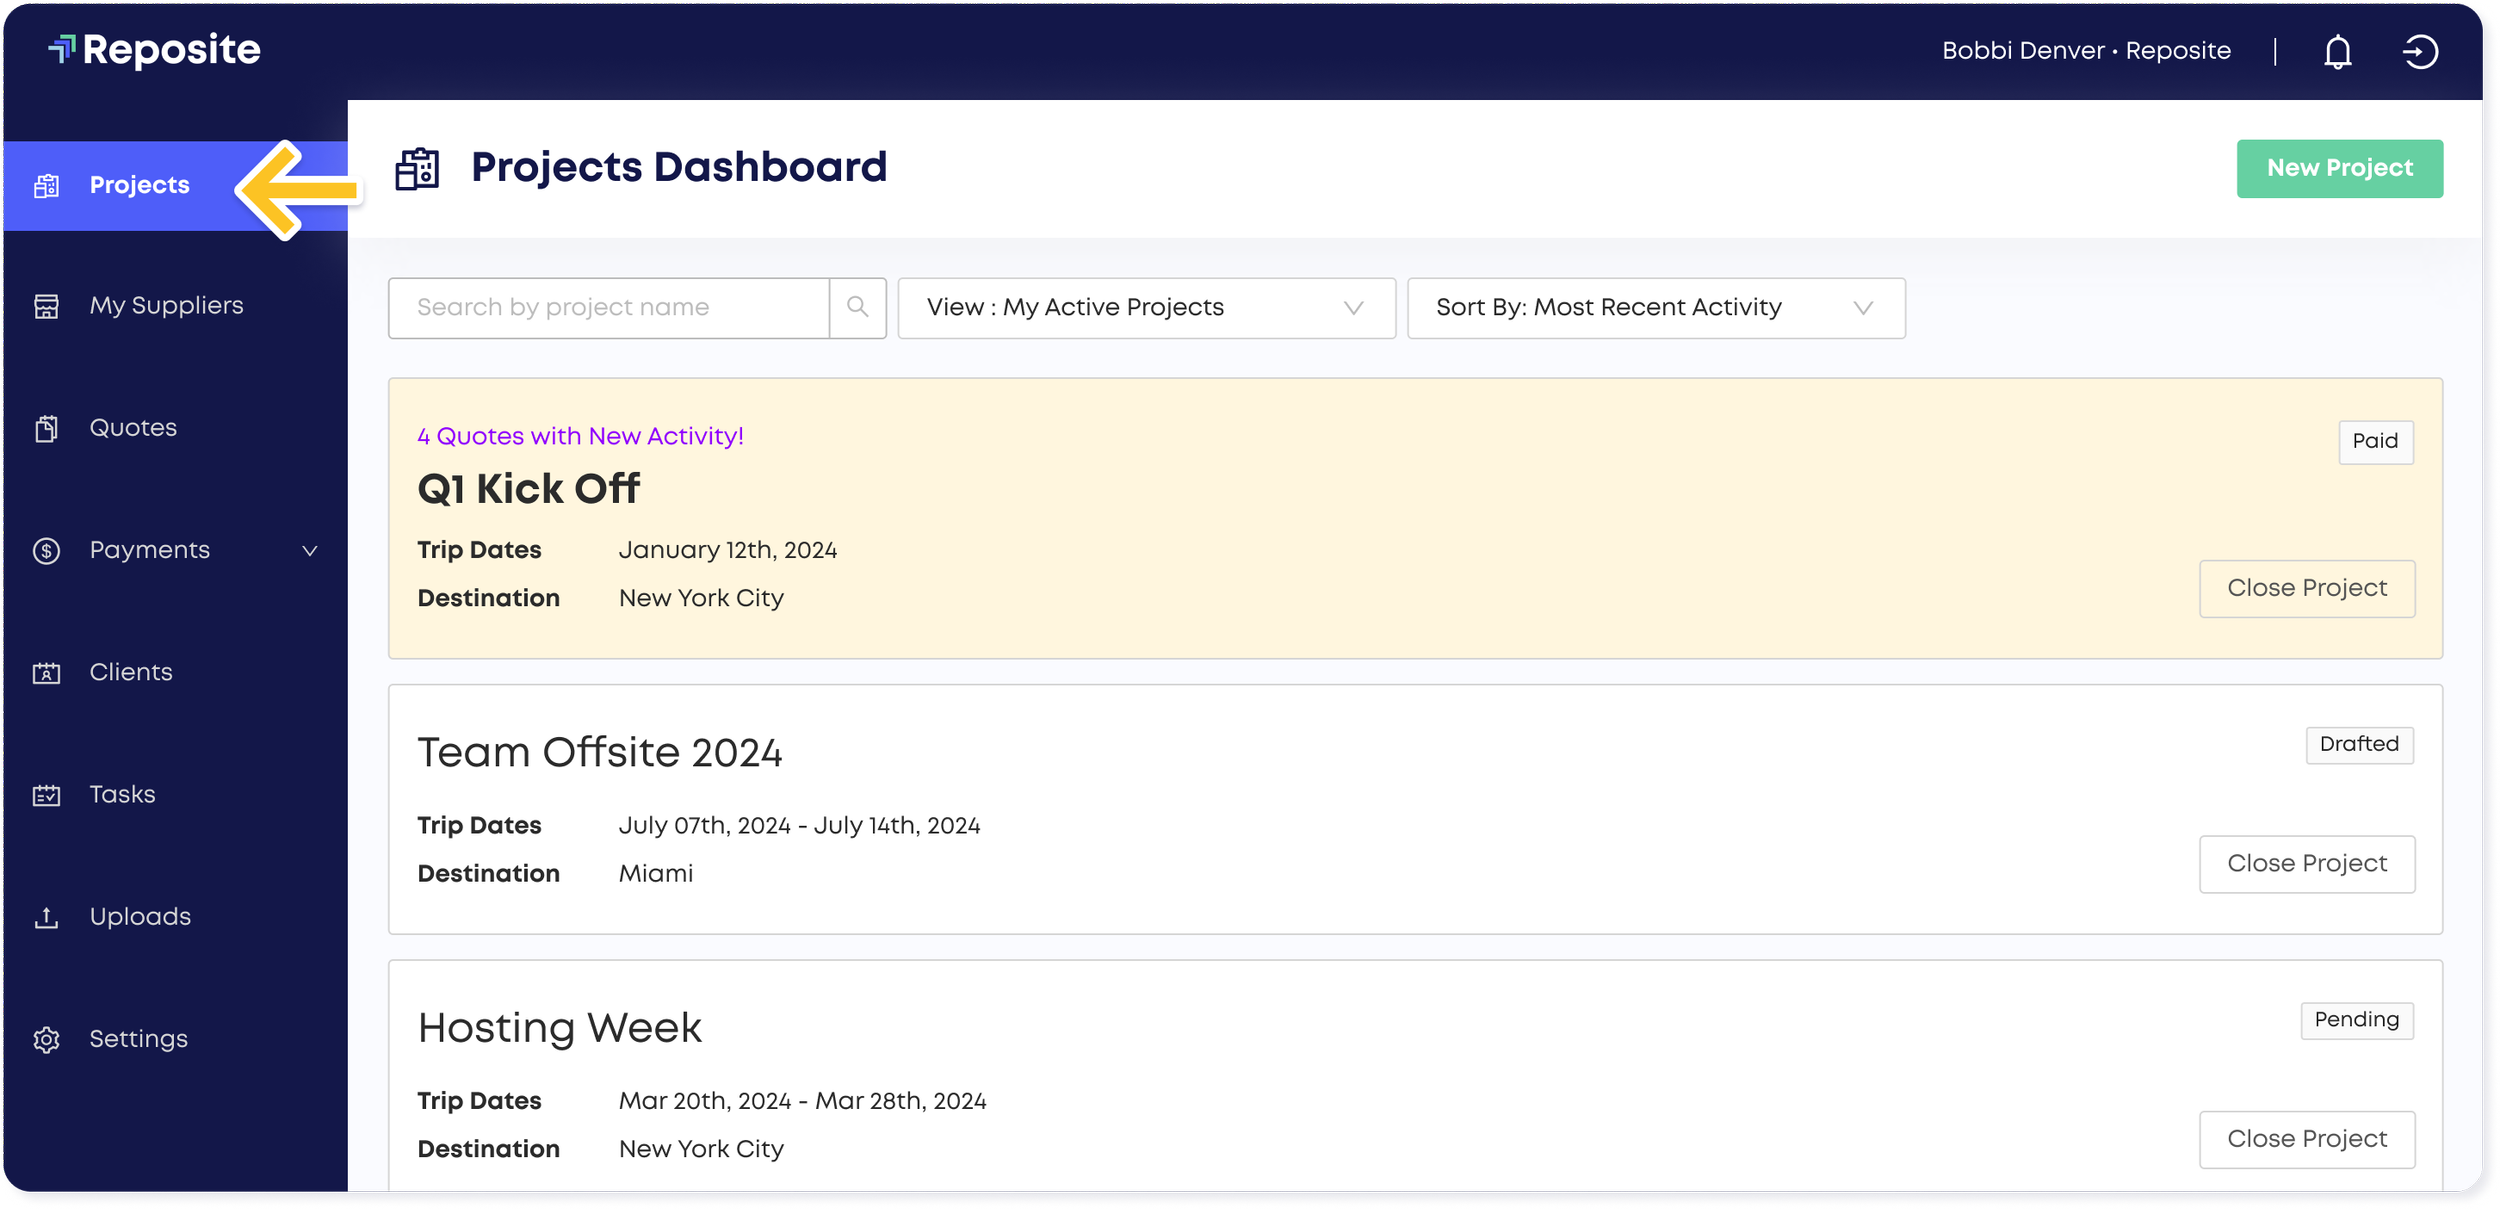
Step 1. Click Projects in the left-hand navigation. A list of your active projects appears.
Step 2. Click on the project which you would like to manage tasks for. The selected project’s “Overview” page appears.
Step 3. On the selected project’s “Overview” page, click View All Project Tasks. The Tasks tab opens, sorted to display only the selected project’s tasks. This can help you to stay organized with Tasks for the specific project you are working on.
Creating Custom Tasks
Reposite allows it’s users to create custom tasks for any reminders that are not created automatically. There are two ways of creating a custom task: from a project’s “Overview” page or from the Tasks tab itself.
Step 1: Navigate to the Tasks page via the left navigation or a specific project. The Tasks tab opens.
Step 2: Click the +Add Task button. The task creation drawer appears on the right side of your screen.
Using the Task Creation Menu
Step 1: Enter your task’s details in the custom task creation menu. For more information on each item in the menu, see below.
Description: Enter your task’s description. Note that this is the only field required in order to create a custom task.
Contact: Add an associated contact from your clients list to the task. The contact’s name will be displayed alongside the task in the Tasks tab. For more information on contacts and your clients list, see Using the Clients List. This task will not be shared with the client.
Project: Add an associated project to the task. This will allow you to view the task when sorting by that project on the Task page.
Company: Add an associated supplier company to the task. The company’s name will be displayed alongside the task in the Tasks tab. This task will not be shared with the supplier.
Due Date: Add a due date to be displayed alongside the task. You will additionally receive a reminder notification on the task’s due date.
Step 2: Click the Create Task button. Your task has now been created to help manage your workflow on your projects; keeping Reposite as your “all in one” workplace.
Up Next
Need additional help?
We’ve got you covered – simply request a demo and a member of our team will reach out to answer any questions you may have.


